 |
 |
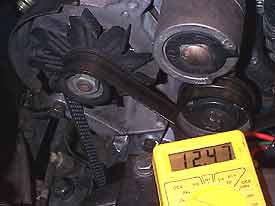
| <1> Installation of the 3G is to cure the problem of not charging the battery at idle. Prolonged idling or low speed operation would result in a dead battery. |
<2> The new 3G large case alternator is rated at 130 amps compared to approximately 60-75 amps from the stock 2G unit. Additionally the 3G will produce more than double the output at idle speeds. |
 |
 |
<3> Always disconnect the negative battery cable when doing any electrical system work.
Remove the serpentine belt using an 18mm socket on the tensioner nut. |
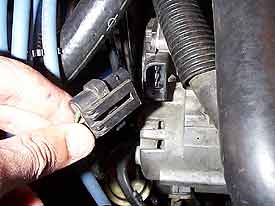
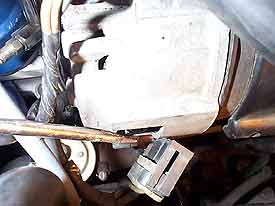
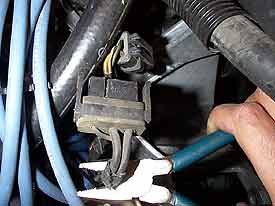
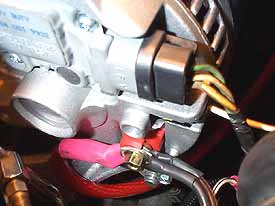
<4> Remove the regulator plug from the alternator, use gently prying with a screwdriver but be careful not to break the clip! |
 |
 |
| <5> Remove the power output plug. |
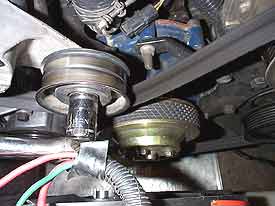
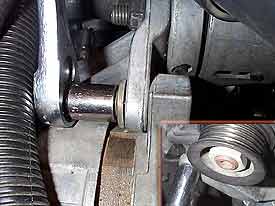
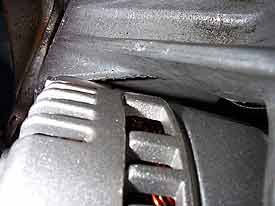
<6> Remove the upper 9/16" and lower 5/8" (see inset) alternator-to-bracket bolts. |
 |
 |
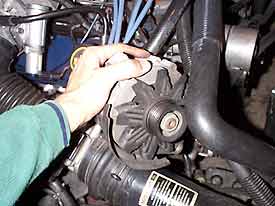
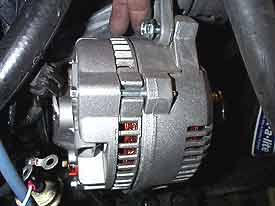
| <7> The alternator can now be removed from the bracket. Be careful not to severely bend the AC hose that may route across the top (on dealer installed AC units.) |
<8> With the stock alternator out of the way, tap the bushing in the bracket forward to gain clearance for the new alternator. |
 |
 |
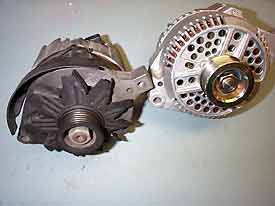
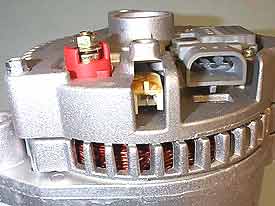
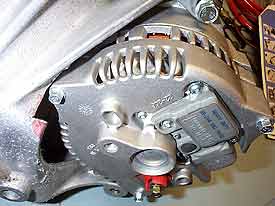
| <9> The new 3G alternator has slightly different electrical connections than the 2G unit. From left to right are the, B+ terminal (red), stator terminal (white), and regulator socket (gray.) The factory regulator plug (step 4) will plug right in, however we'll modify the power output plug (step 5) to work with the 3G. |
<10> Peel back the electrical tape on the power output plug, and cut the three wires (two black/orange and one white) 1/2" to 1" from the plug. |
 |
 |
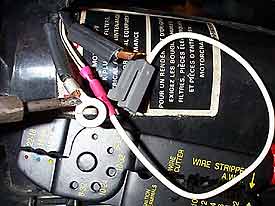
| <11> Using wire strippers, remove about 1/4" insulation on the ends of the three wires. Slip on the heat shrink tubing, and crimp and/or solder the ring terminals to the two black/orange stripe wires. Use a butt connector to crimp together the white wire and the supplied stator plug. |
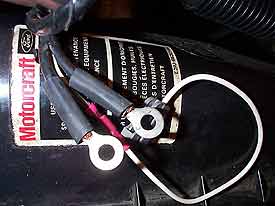
<12> The modified power output plug should look like this. |
 |
 |
| <13> The 3G alternator has a slightly larger housing which requires trimming the stock mounting bracket. You can simply take a die grinder and hack out the area shown, without removing the bracket from the car. If you do this, be sure to keep the shavings away from the new alternator. |
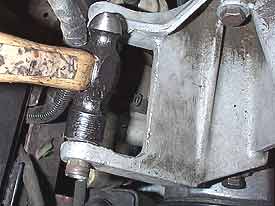
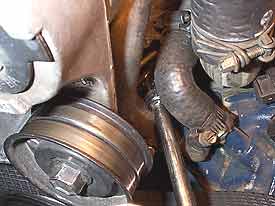
<14> Just in case you don't like getting aluminum shavings everywhere, or you don't have a die grinder, we will show you how to modify the bracket by removing it. Three bolts hold the bracket to the head. The 9/16" bolt behind the tensioner can be accessed with an extension and universal joint attachment, otherwise you'll need to remove the tensioner. |
 |
 |
| <15> The soft aluminum bracket can be ground down or cut away with any number of power tools. |
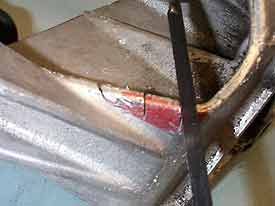
<16> If you don't access to any, you can use a hack saw. Simply cut a few notches as shown, and use a chisel and hammer to knock the pieces out. Use a file to clean up the rough edges. |
 |
 |
| <17> Test fit the alternator in the bracket to confirm adequate clearance. |
<18> Remount the bracket on the engine, and then mount the new alternator. |
 |
|
|
<19> Attach the battery wires, the stator lead and the voltage regulator plug in and your done.
|
|
